How to properly install SQL Server?
SQL Server 2019 developer edition in Windows 10
In this tutorial, We will install the SQL Server 2019 developer edition in windows 10. This developer edition is a full-featured free edition, licensed to use in a non-production environment for development and test database. The installation step will be mostly same for the different versions (i.e, 2014, 2017 etc) and editions (i.e., Express, Standard, Enterprise etc).
Sql Server 2019 Developer Edition installation steps
- Go to SQL Server downloads page and click “ Download now ” under Developer edition or you can just directly click here .
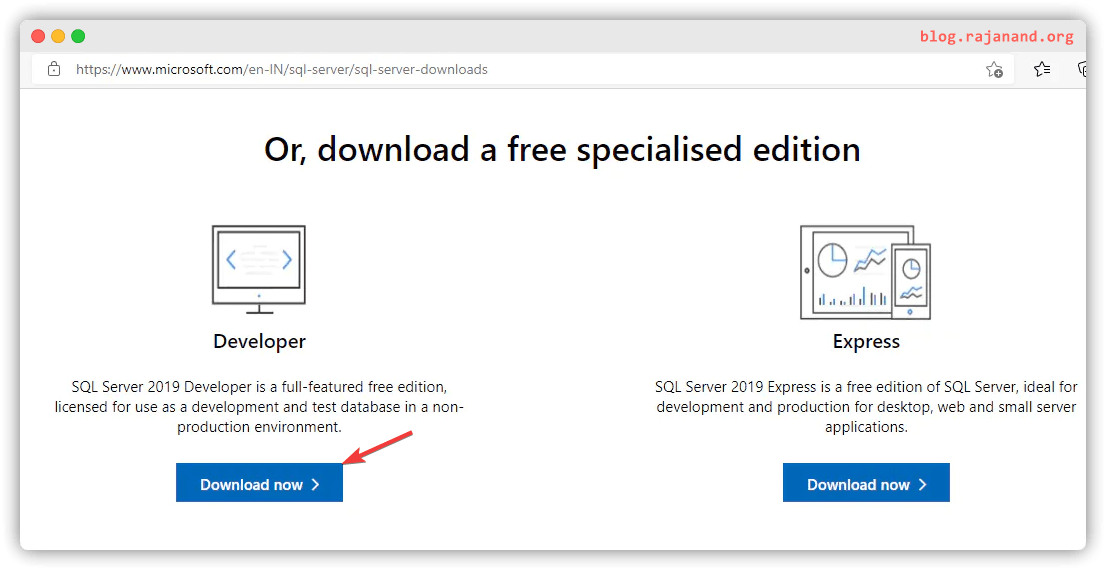
- Installer will be downloaded. Double click the installer to start the installation process.
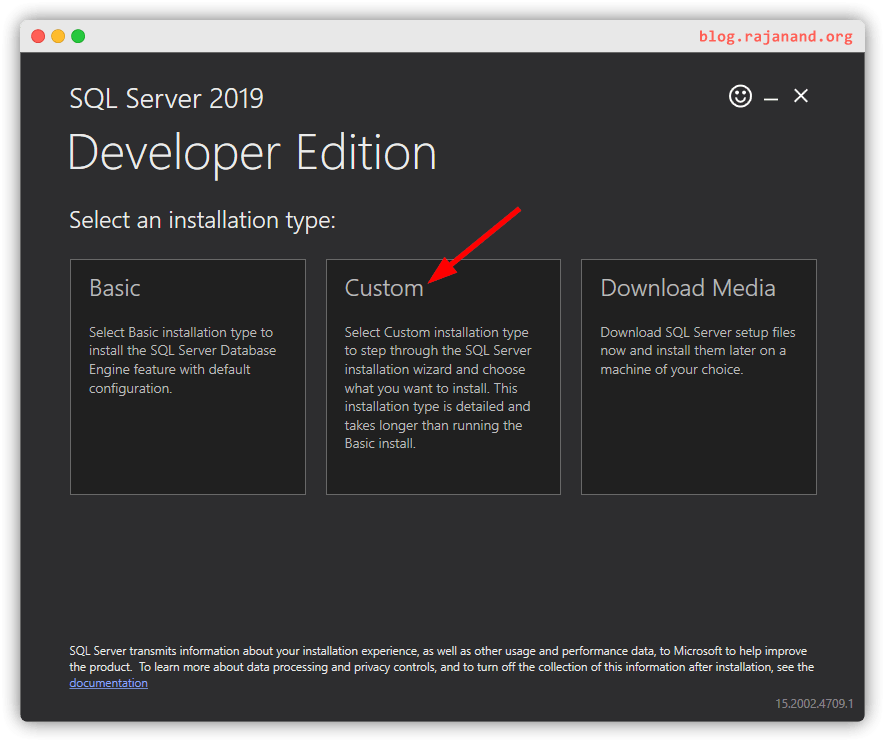
- Click “Custom” as the installation type as shown below.
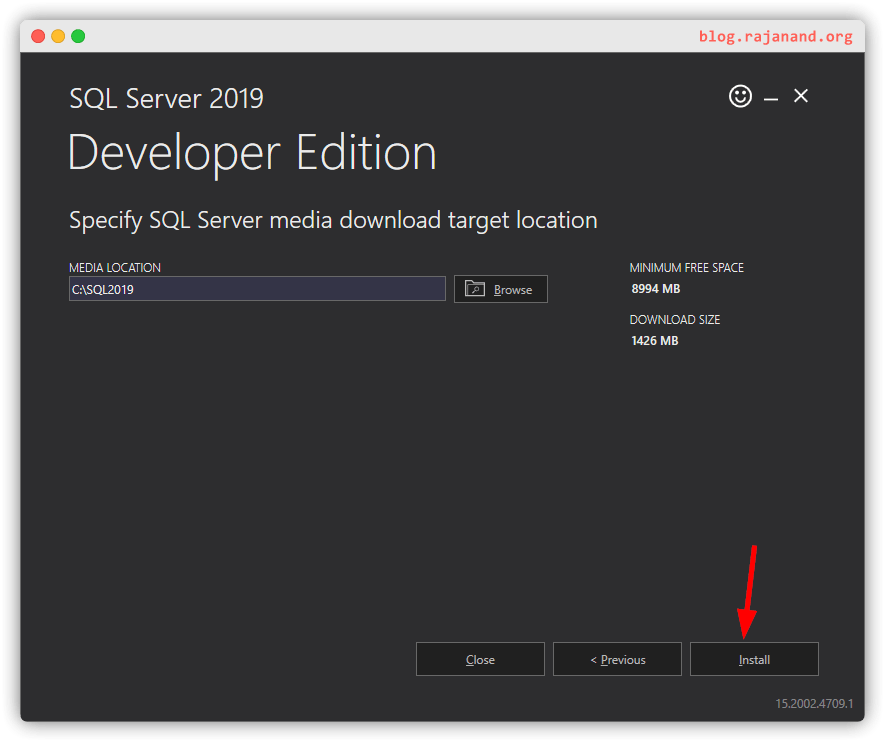
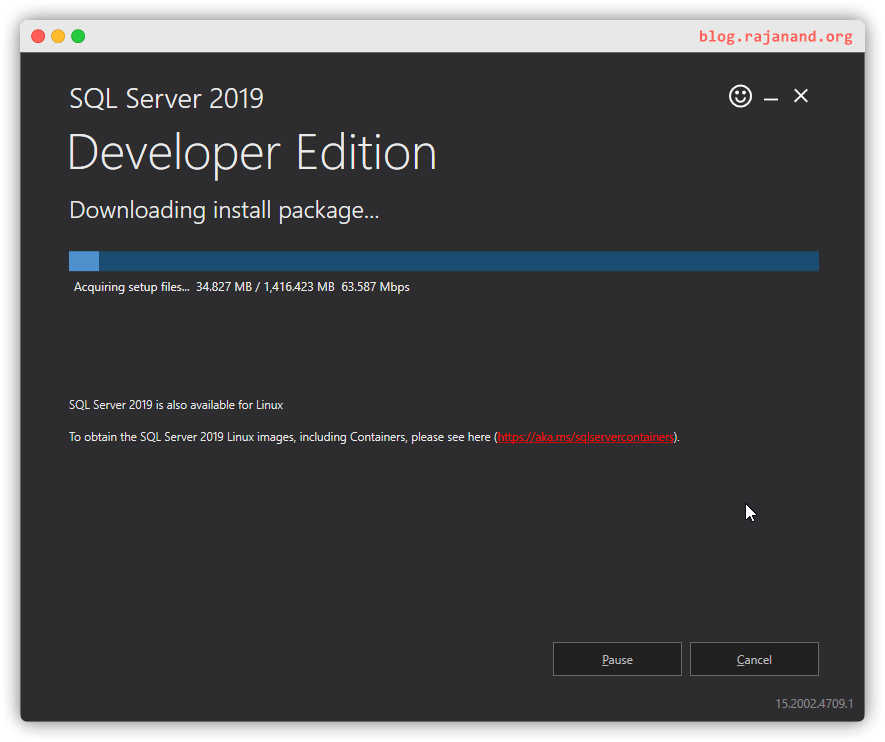
- This will download the SQL Server software with size about 1.5GB
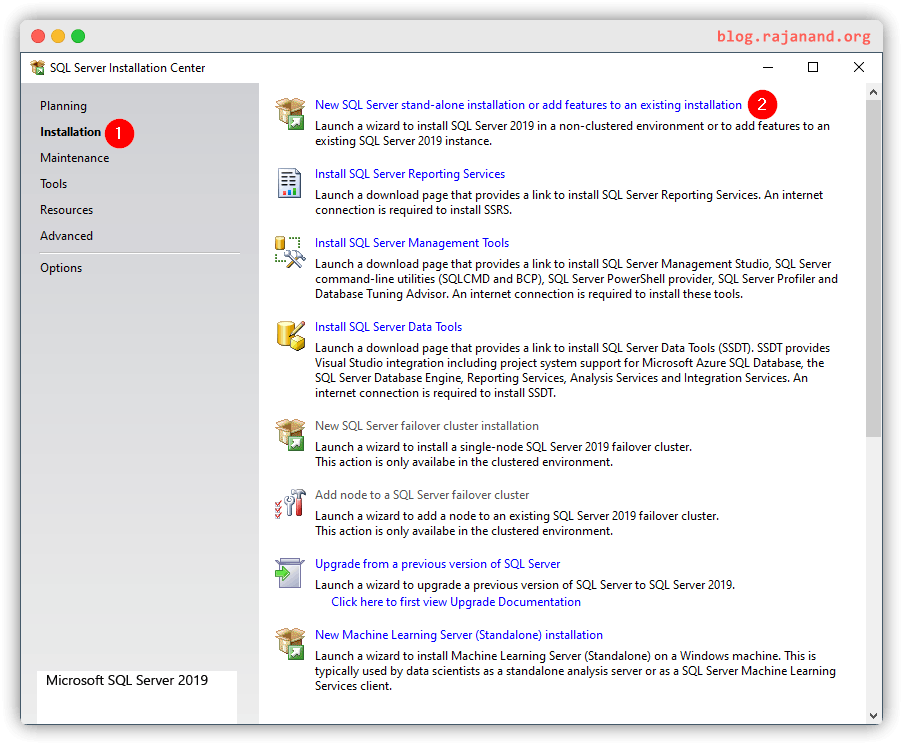
- Click “Installation” as this is the first time we are going to install SQL Server.
- Click the first option “New SQL Server stand-alone installation”
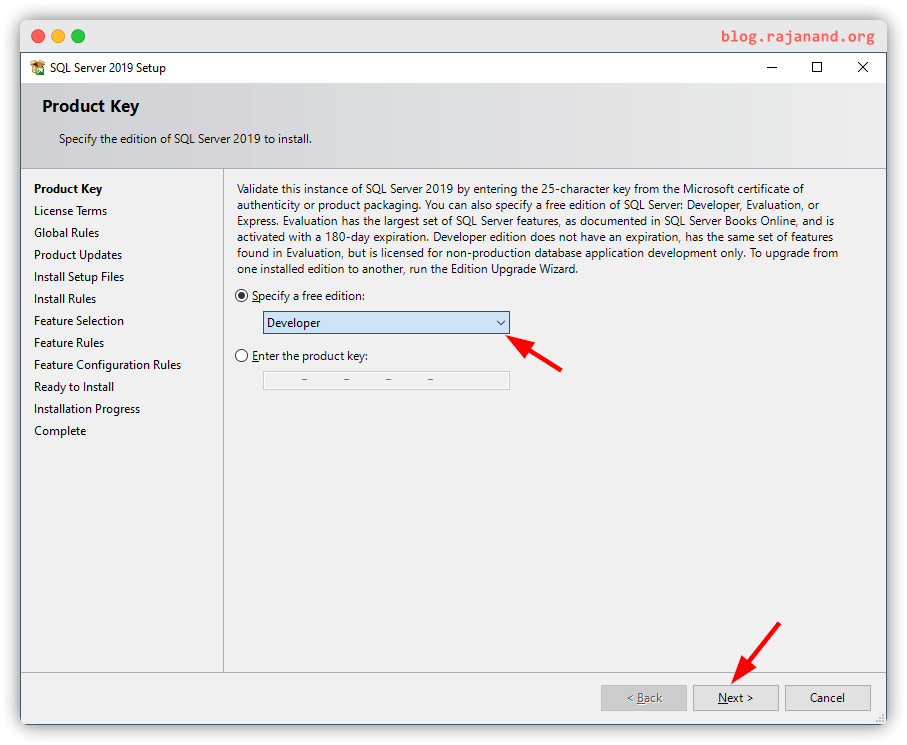
- Leave the default option “Developer” edition.
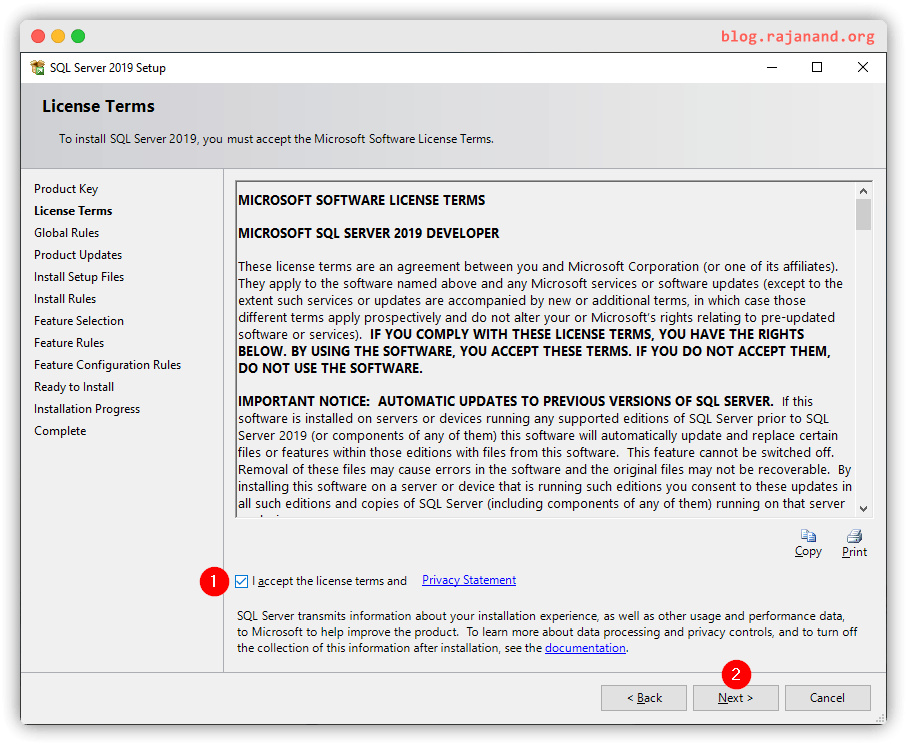
- Accept the license terms and privacy statements.
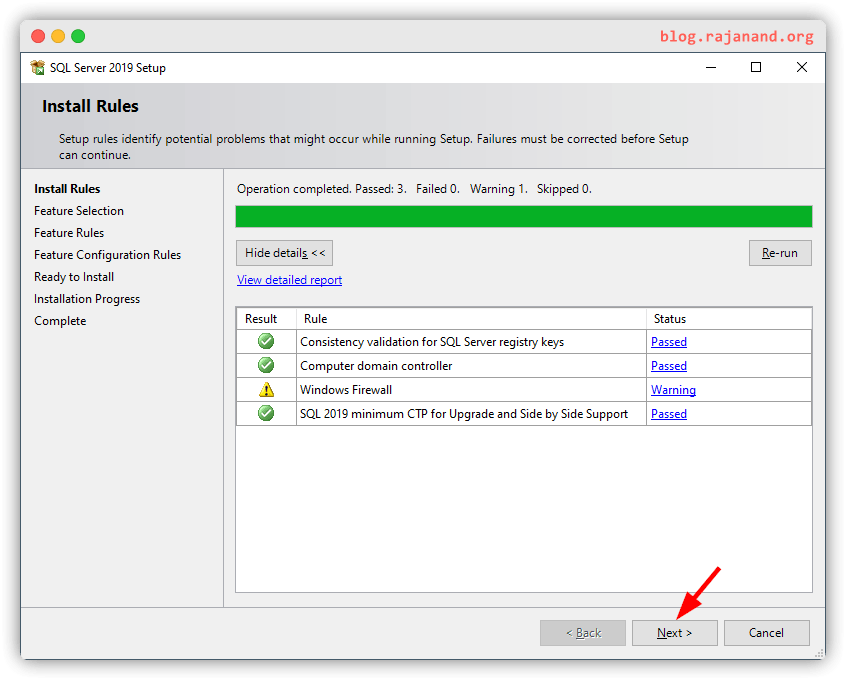
- Check the Install rules. If there are any issue, read the error message and fix that. If there are no error messages, and just a warning message is there like below, then that is fine.
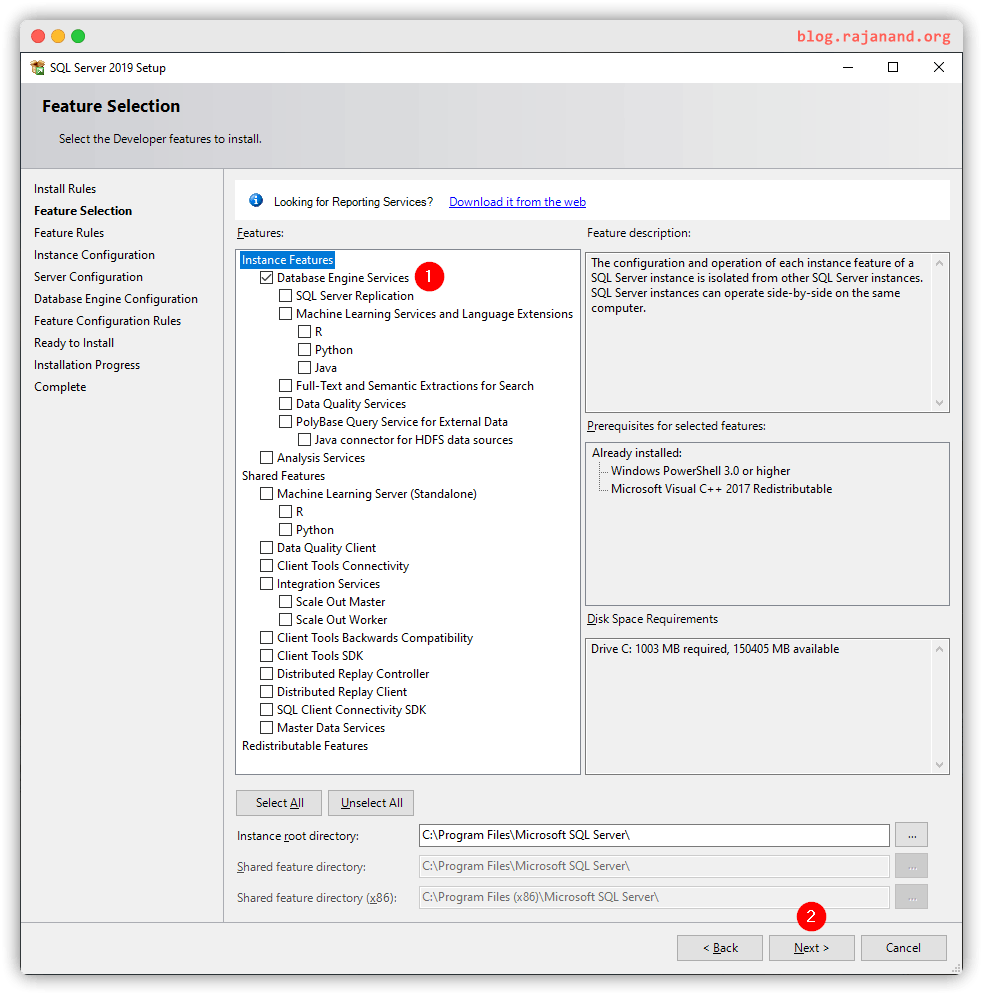
- Select only the “Database engine service” in feature selection.
- Leave the default SQL Server instance Id/name. (i.e.,
MSSQLSERVER) and click Next.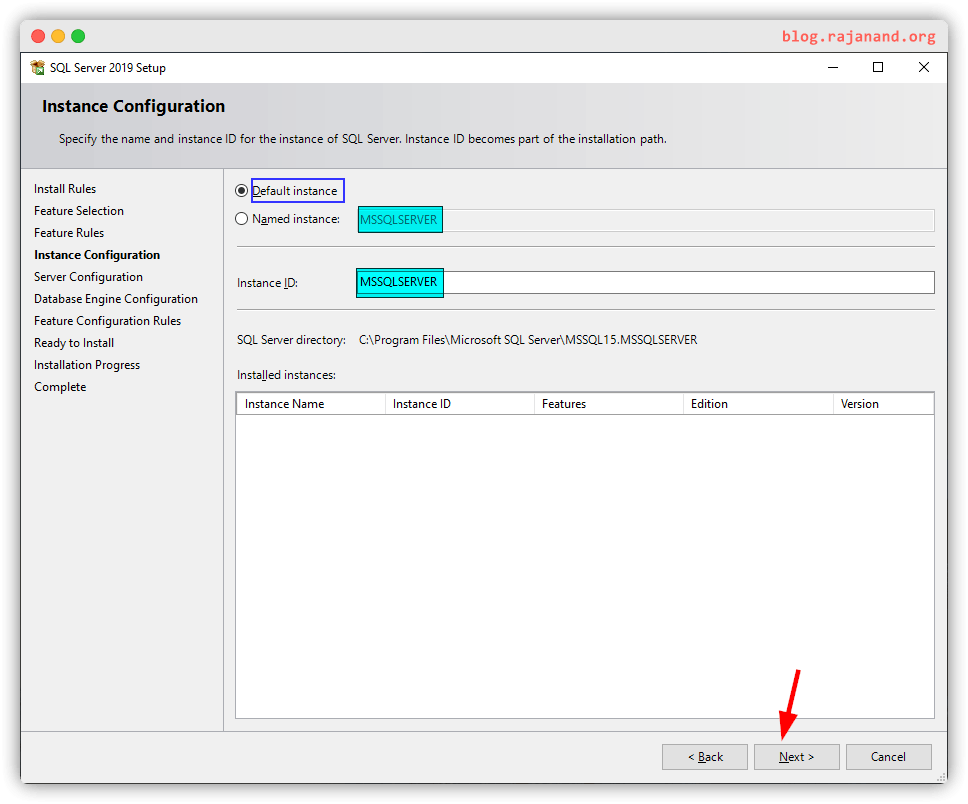
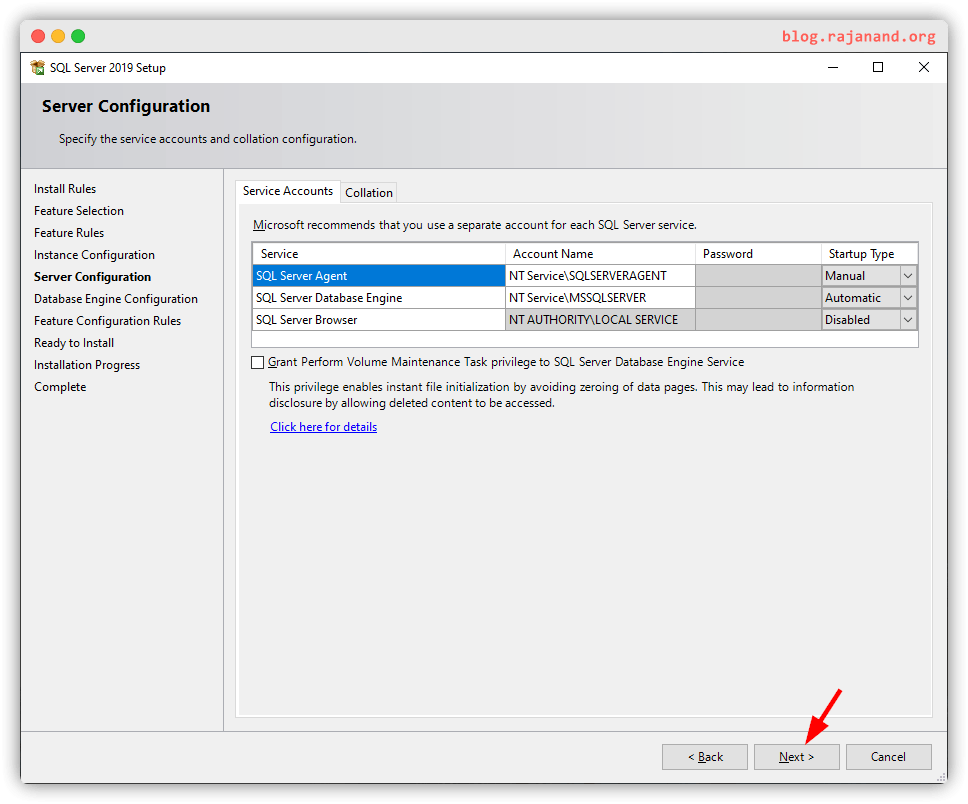
- Click Next on the service accounts configuration page.
- In Database engine configuration select Mixed mode (SQL Server authentication and Windows authentication) as authentication. By using this mixed mode, you will be able to login to the SQL Server instance with your current windows login and with username and password.
Enter any strong password that you can remember for SQL Server authentication method.
User name:sa
Password: AnyPasswordThatYouDontForget
Then click “Add current user” to add the currently logged-in user as administrator.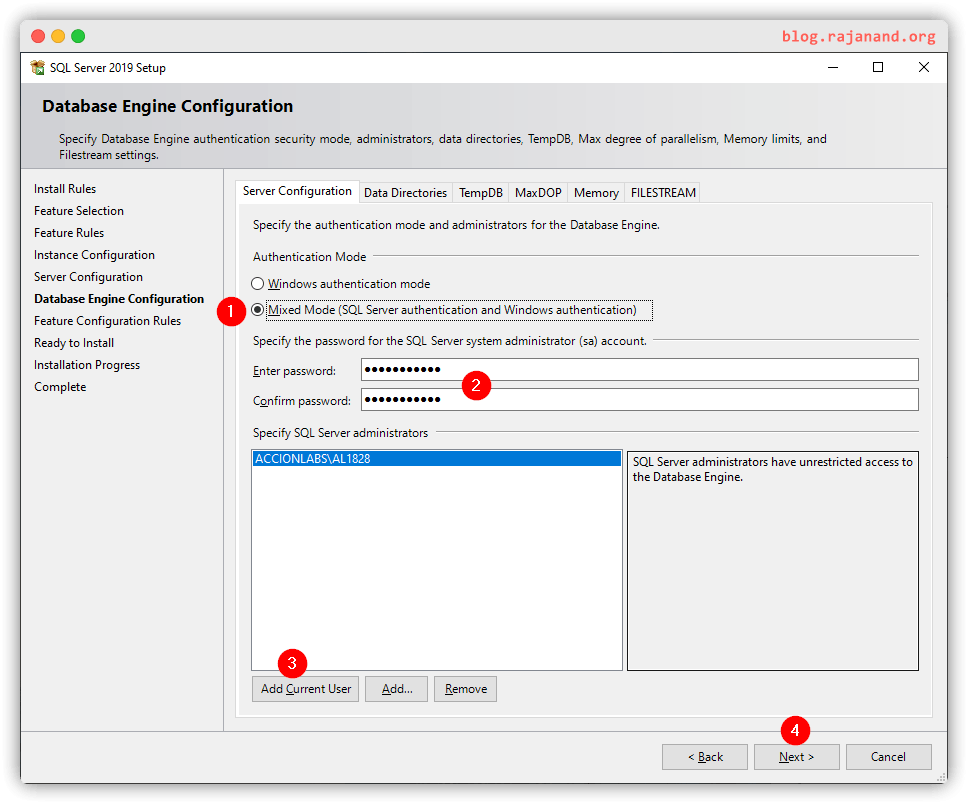
- Review it once and then click “Install”. This step will take some time to complete.
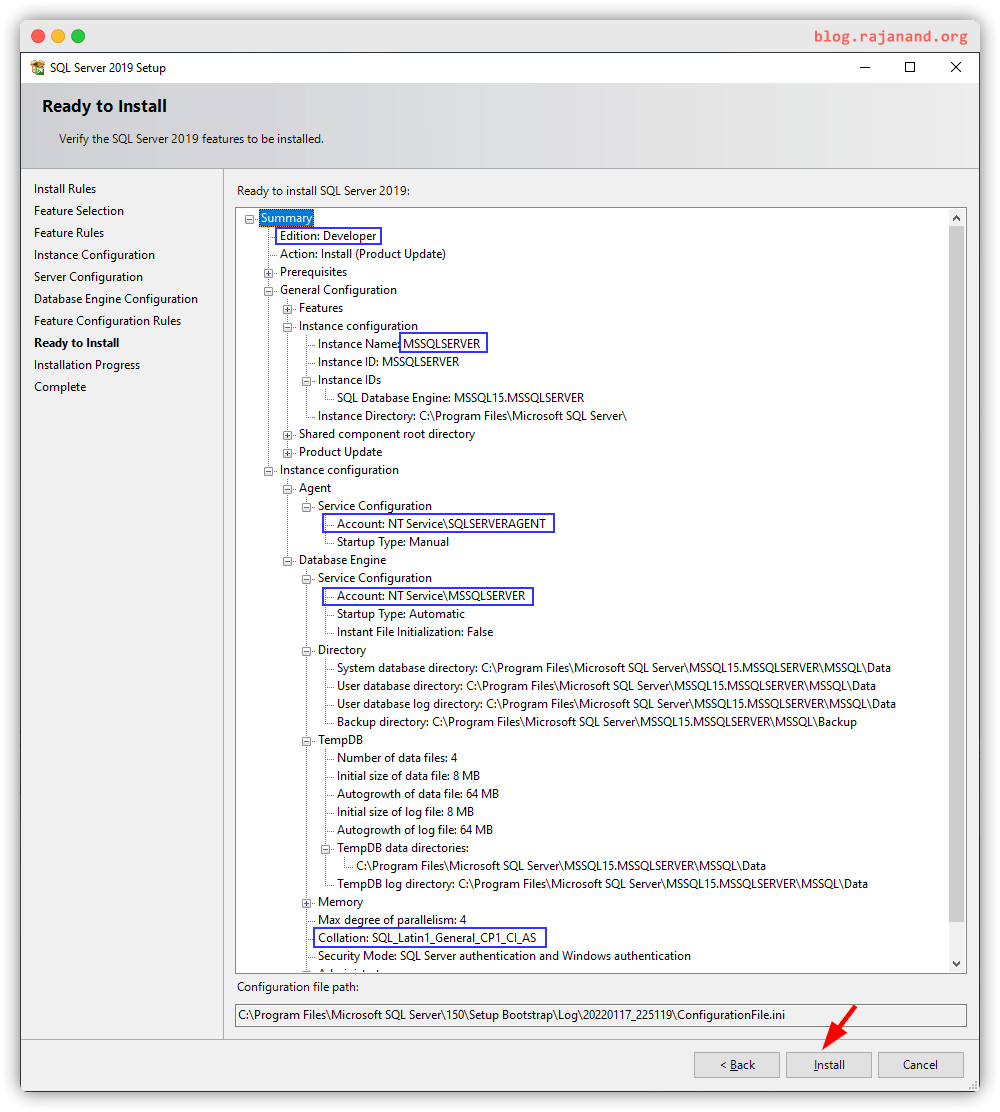
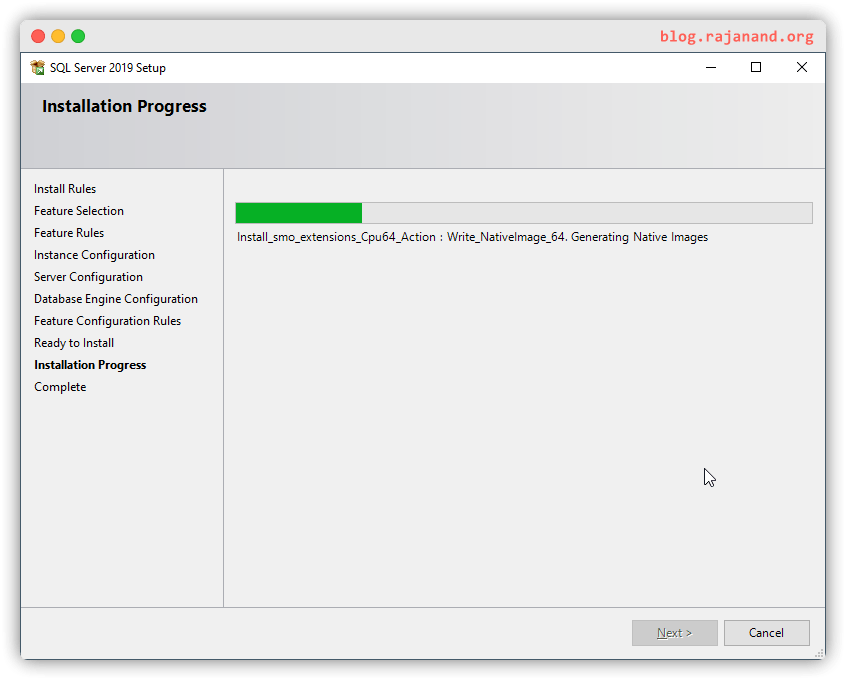
- Installation process may take from 15 to 30 min to complete.
- Once installation completes, you should see the message like below. Then you can close it.
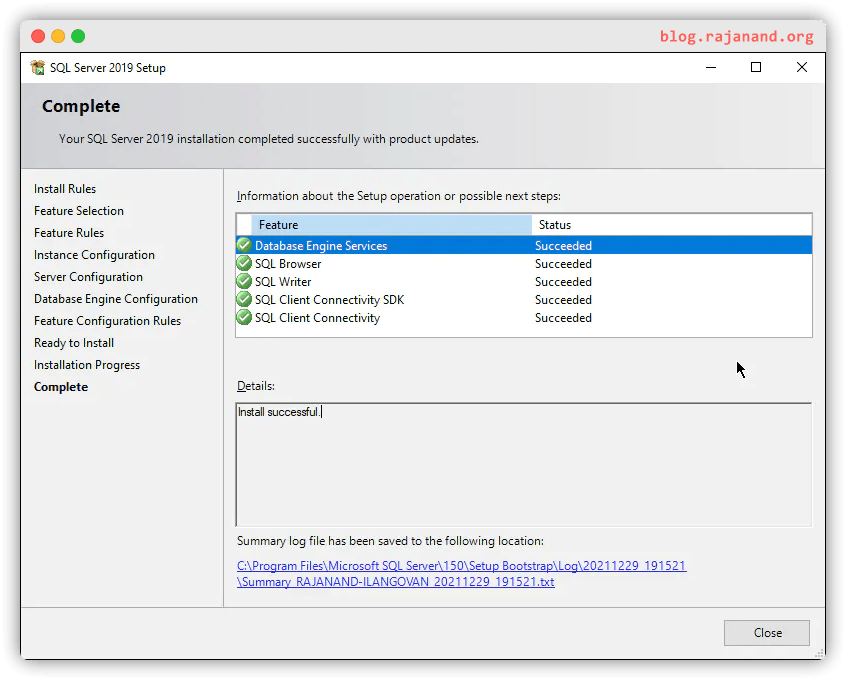
Now, you may open SQL Server Management Studio and login to the server.

